Credit for this excellent walkthrough goes to @danny. I’m just the messenger.
This upgrade guide pairs nicely with the RedwoodJS v0.25 Release Notes
This guide covers upgrading both 1) Local DBs and 2) Production DBs to the new Prisma Migrate as of Prisma > v2.13 and Redwood v0.25 (which includes Prisma v2.16).
In order to update your production DB (2) with new migrations, you will need to run the steps in (1)
Setting up your local database
Step 1.a
[Optional] Remove Prisma resolutions in package.json and api/package.json if you have them. (This applies if you’ve installed Prisma at all in your project’s package.json – make sure you remove all references to the packages.)
-  "resolutions": {
-    "@prisma/client": "2.11.0",
-    "@prisma/cli": "2.11.0",
-    "@prisma/sdk": "2.11.0"
-  }
Run yarn install to make sure Prisma version are correct.
Step 1.b
And now you should upgrade to the latest Redwood version:
yarn rw upgrade
Step 2
Prisma > v2.12 has changed the way migrations work. So we’ll need to remove our old migrations:
rm -rf api/db/migrations
Note: depending on your project configuration, your migrations may instead be located in
api/prisma/migrations
Step 3
Prisma no longer supports the Dyanmic Provider feature, which means you cannot run both SQLite and Postgres. It’s likely you’ll need to update db/schema.prisma.
Note: You have a choice to make at this step. If you have not yet deployed to production, it’s fine to use SQLite for local development — there are advantages for prototyping and experimenting quickly. However, if you’ve deployed (or are planning to deploy soon), you’ll need to make the switch to Postgres locally to support deployment. From here on out in this guide, we assume you’ve switched to Postgres
If you need to set up a local Postgres database for development, look at the
Redwood doc here: Local Postgres Setup
datasource DS {
-  provider = [ "sqlite", "postgresql"]
+  provider = "postgresql"
  url      = env("DATABASE_URL")
Now, we’re going to modify your local database so that the new migrations can run against it.
Please make sure you back up your local DB if needed — this process will destroy the data in your local DB.
Step 4
Let’s create a new migration:
yarn rw prisma migrate dev
Note: this is a destructive process and will clear all the data in your (local) DB,. Please make sure you’ve backed up what you need first.

Make a note of this migration name, as we’ll use this to get the production DB up to date without destroying any of your data.
Step 5
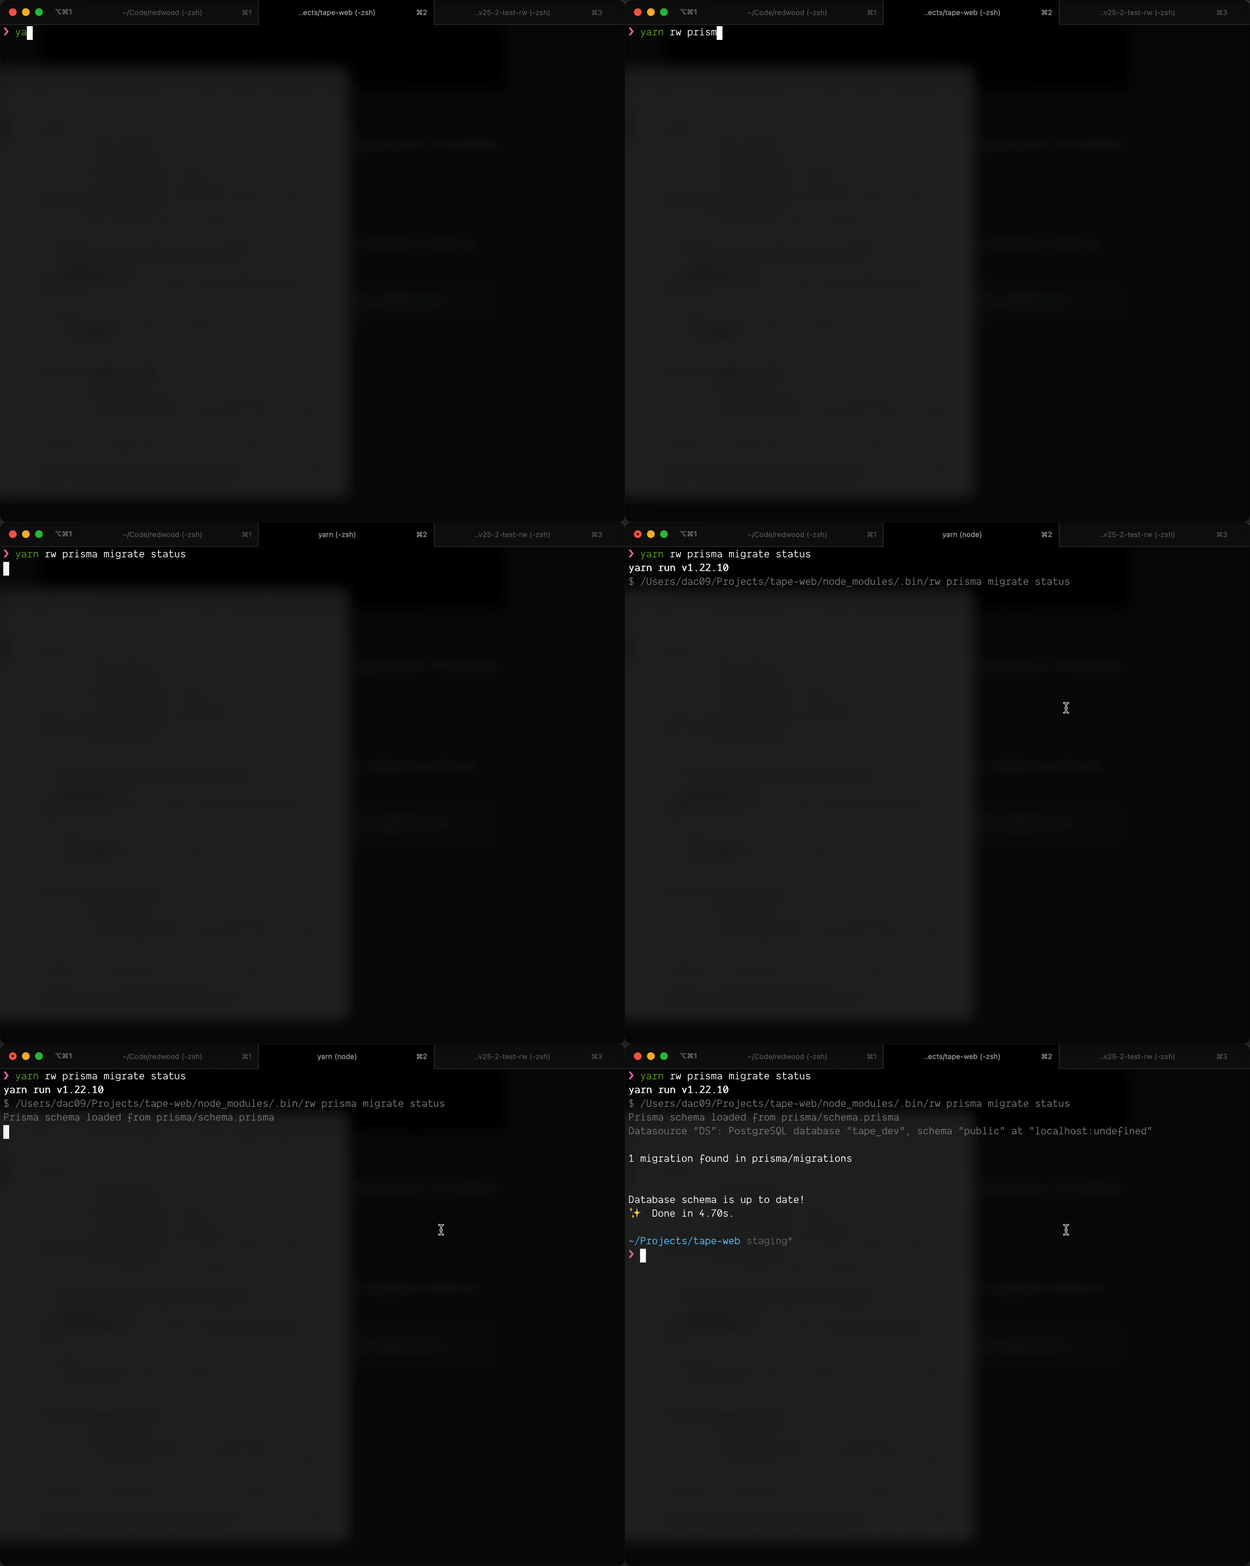
Let’s check if it’s all gone ok!
yarn rw prisma migrate status

Step 6
Let’s make sure our code is compatible with the latest Prisma syntax as v2.16 introduced breaking changes. We can do a quick check by generating the Prisma client:
yarn rw prisma generate
Another key thing to note:
- Prisma
findOne→findUnique
You should be able to do a “find and replace” on this in your codebase.
While we’ve not had success with it, you can also try using Prisma’s codemod to modify your code for you, like this:
npx @prisma/codemods --schemaPath api/db/prisma/schema.prisma update-2.16.1 ./
Production DB: using the New Prisma Migrate
Step 1
Backup your database.
Step 2
Make sure your database is backed up. We cannot stress this enough!
Step 3
Now let’s check if we can connect to your production database
WARNING: swapping your dev DB with production DB connection string via local files like
.envorschema.prismais not good practice and we strongly advise against it. Keep your secrets secret, safe, and out of reach.
Find the string for your database to connect to. This is the same string that you use in your environment configuration when you run your application on your server/Netlify/Vercel/etc.
❯ DATABASE_URL=postgresql://xxxx@yyy.com yarn rw prisma migrate status
Notice the space in front of DATABASE_URL. This means the command stays out of your bash/shell history so that your database string, containing the password, stays safe.
WINDOWS USERS: for most Windows shells, you cannot pass Env Vars directly at the command line. But you can use the NPM package
cross-env, which is already installed in Redwood. Just appendyarn cross-envto the beginning of the string above. For example:yarn cross-env DATABASE_URL=postgresql://xxxx@yyy.com yarn rw prisma migrate statusAnd don’t forget the space at the beginning!
You should see something like this:
1 migration found in prisma/migrations

The migration have not yet been applied:
20210210194613_new_migrate # <--- this is the file name we'll need
Step 4
Now let’s resolve the migration so Prisma migrate is happy!
❯ DATABASE_URL=postgresql://xxxx@yyy.com yarn rw prisma migrate resolve --applied 20210210194613_new_migrate
Windows users: And again, just put
yarn cross-envin front of that command
You should see something like this:
Migration 20210210194613_new_migrate marked as applied.
✨  Done in 5.13s.
Et voilà !
One more (very important) thing
You want to deploy, don’t you?
Due to the changes in Prisma’s migration commands, we need to change the commands we use to build and deploy.
If you’re deploying to Netlify, update your netlify.toml
[build]
- command = "yarn rw build && yarn rw db up"
+ command = "yarn rw deploy netlify"
If you’re deploying to Vercel, you’ll want to make sure you check the “Build Command” setting — specifically the “Default” string if it’s what you’re using. Make sure you update if necessary to use:
yarn rw deploy vercel
Take a look at the CLI Doc for deploy if you have any questions.
 Upgrade went smoothly and migrations did too.