This tutorial will demonstrate a quick and simple way to get a production PostgreSQL database provisioned and connected to a RedwoodJS application. We will:
- Create a RedwoodJS project
- Provision a PostgreSQL database with Railway
- Setup the database with Prisma Migrate
1. Create a RedwoodJS project
yarn create redwood-app redwood-railway
cd redwood-railway
yarn rw dev
Open localhost:8910

Add Post model and set provider to postgresql in schema.prisma
// api/db/schema.prisma

datasource DS {
  provider = "postgresql"
  url      = env("DATABASE_URL")
}

generator client {
  provider      = "prisma-client-js"
  binaryTargets = "native"
}

model Post {
  id        Int      @id @default(autoincrement())
  title     String
  body      String
  createdAt DateTime @default(now())
}
2. Provision a PostgreSQL database with Railway
First you need to create a Railway account.
Install the Railway CLI
railway login
🚝 Logging in... No dice? Try railway login --browserless
🚄 Logging in...
🎉 Logged in as Anthony Campolo (anthony@email.com)
Initialize project
Run the following command and select “Create new Project.”
railway init
Give your project a name
✔ Create new Project
✔ Enter project name: redwood-railway
✔ Environment: production
🎉 Created project redwood-railway
Provision PostgreSQL
Add a plugin to your Railway project.
railway add
Select PostgreSQL.
✔ Plugin: postgresql
🎉 Created plugin postgresql
Set environment variable
Create a .env file with your DATABASE_URL.
echo DATABASE_URL=`railway variables get DATABASE_URL` > .env
3. Setup database with Prisma Migrate
Running yarn rw prisma migrate dev generates the folders and files necessary to create a new migration. We will name our migration nailed-it.
yarn rw prisma migrate dev --name nailed-it
Generate scaffold
A scaffold quickly creates a CRUD interface for a model by generating all the necessary files and corresponding routes.
yarn rw g scaffold post
You likely need to restart your development server for the environment variables to take effect.
yarn rw dev
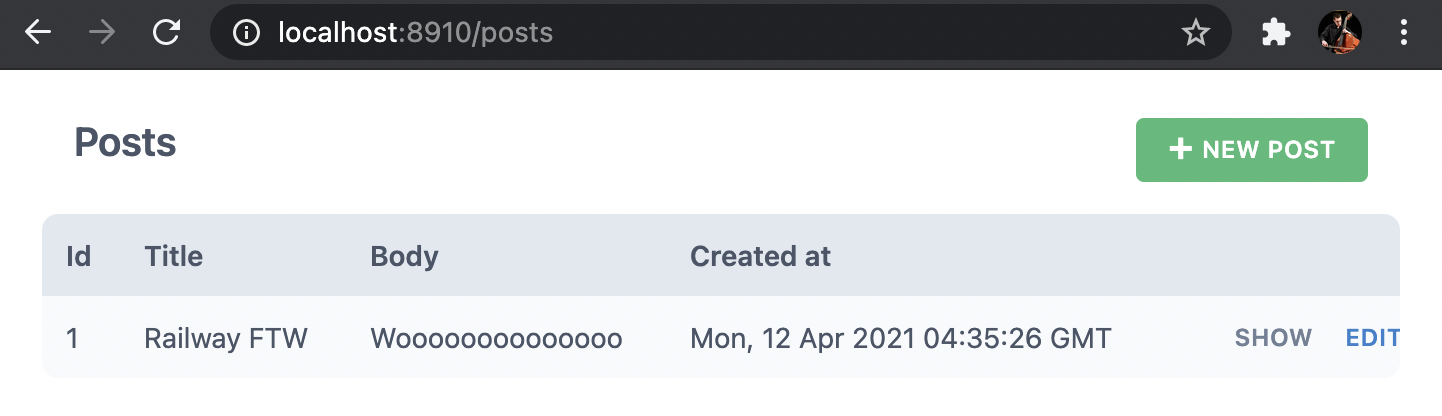
Open localhost:8910/posts

Create a post.

Click Save.